 Pots and Pans
 Tawa
Tawa Kitchen Accessories
Mastering Roti Perfection – How to Make Soft, Puffed Rotis Every Time
Roti is the heart of Indian meals, a soft and slightly charred flatbread that pairs perfectly with almost everything. However, achieving perfectly soft and puffed rotis every time can be a challenge. From uneven cooking to hard rotis, small mistakes can make a big difference. Whether you are cooking for a family meal or a special occasion, mastering the art of making rotis is essential.
In this guide, we will walk you through everything—from choosing the right flour to rolling and cooking techniques. We'll also explore the best cookware options, including Iron Tawa, Cast Iron Tawa, and Flat Tawa for Roti, to ensure your rotis come out perfectly every time.
Why Do Rotis Turn Hard or Fail to Puff?
Several factors affect the texture and puffing of rotis:
-
Wrong Flour: Using poor-quality atta (whole wheat flour) or a mix with too much refined flour can lead to hard, dense rotis.
-
Improper Kneading: Over-kneaded or under-kneaded dough affects the texture and softness of the roti.
-
Incorrect Hydration: Too little water makes the dough dry, while too much makes it sticky, affecting the roti’s texture.
-
Cooking at the Wrong Temperature: Low heat doesn’t allow the roti to puff properly, while high heat burns it before it cooks through.
-
Uneven Rolling: If the dough is not rolled evenly, the roti will cook unevenly, leading to hard or uncooked spots.
Understanding these factors will help you avoid common mistakes and make soft, perfectly puffed rotis every time.
How to Make the Perfect Roti (Step-by-Step Guide)
Step 1: Choosing the Right Flour
The foundation of a perfect roti begins with the flour. For the softest, fluffiest rotis, opt for high-quality whole wheat flour (atta).
-
Avoid using all-purpose flour (maida) as it results in dense, hard rotis.
-
Freshly ground atta yields the best results as it is high in fiber and retains moisture better.
Step 2: Kneading the Dough
Kneading is the next step in creating soft rotis.
-
Use lukewarm water, not cold water, for softer dough.
-
Mix 2 cups of atta with ¾ cup of water (adjust the amount as needed to form a smooth dough).
-
Knead the dough for 8-10 minutes until it becomes soft and smooth.
-
Cover the dough with a damp cloth and let it rest for at least 30 minutes. Resting helps the dough to relax, making it easier to roll and ensuring soft rotis.
-
A few drops of oil can be applied on top of the dough before resting to prevent it from drying out.
Step 3: Rolling the Roti Evenly
The next important step is rolling the dough into perfect round rotis.
-
Divide the dough into equal-sized portions and roll them into smooth balls.
-
Lightly dust with dry flour to prevent the dough from sticking to the rolling pin.
-
Gently roll each ball into a thin, even circle.
-
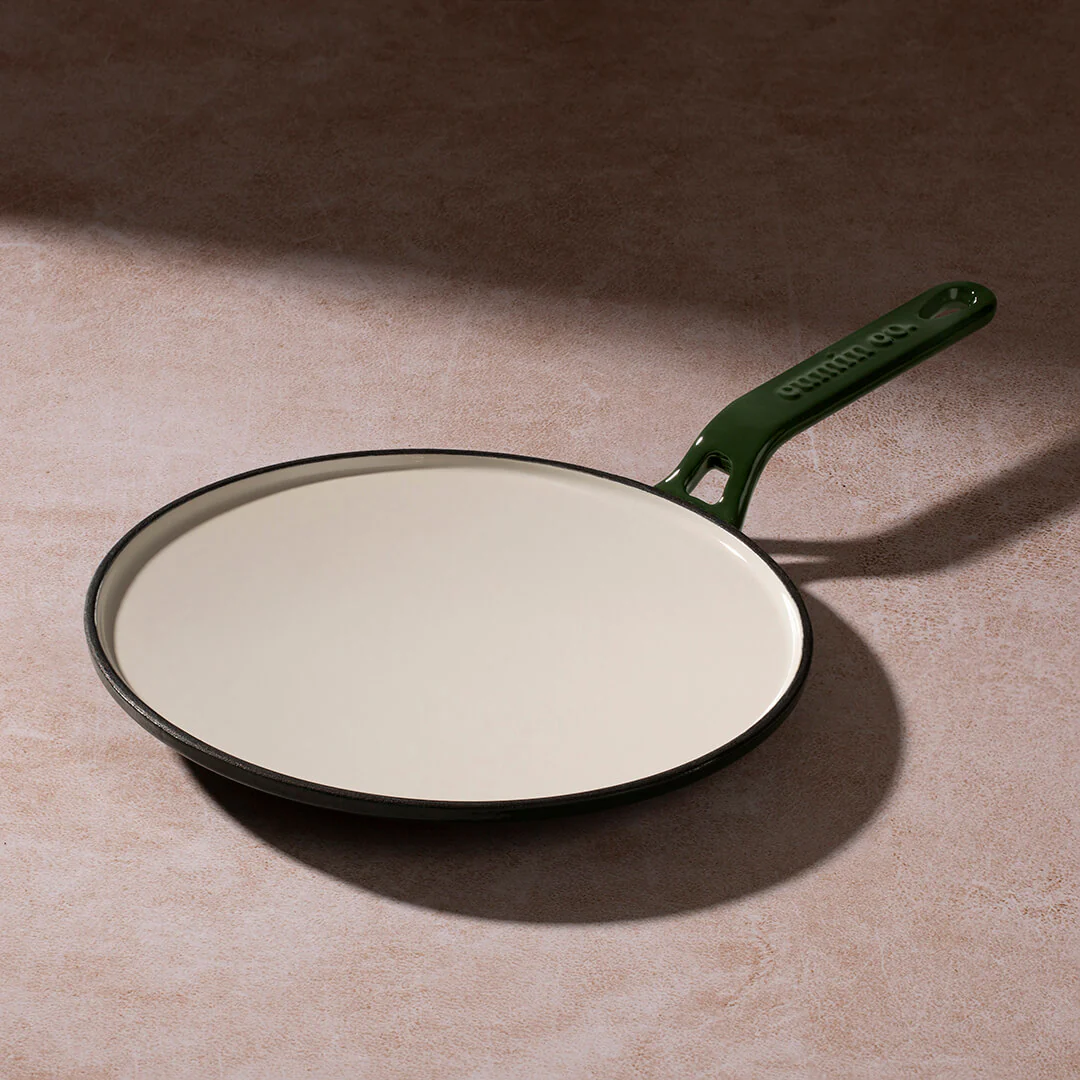
Avoid pressing the dough too hard, as this can cause the roti to become dense. A Flat Tawa for Roti is a great choice for even heat distribution when cooking.
Step 4: Cooking the Roti on the Right Pan
Now comes the crucial part—cooking your roti.
-
Iron Tawa and Cast Iron Tawa are ideal choices for making rotis because they retain heat evenly and are non-stick when properly seasoned. These tawas are perfect for achieving golden brown spots and puffed rotis.
-
Preheat the tawa on medium-high heat for about 2-3 minutes. Test the heat by dropping a few droplets of water on the surface; if they sizzle and evaporate immediately, the tawa is ready.
Step 5: Cooking the Roti (3-Flips Technique for Puffing)
The key to making rotis that puff up beautifully lies in the technique:
-
First Side: Place the rolled roti on the hot tawa and cook for about 20 seconds, allowing small bubbles to appear.
-
Flip Once: Flip the roti and cook the other side for 30-40 seconds until light brown spots form.
-
Flip Again & Press: Flip the roti once more and gently press with a spatula or cloth. This helps encourage puffing.
-
Final Puff: To finish, place the roti directly on the flame for a few seconds until it fully puffs up. The result is a perfectly puffed roti with a slight char.
Step 6: Storing and Serving Rotis
-
For extra softness, brush the rotis with ghee or butter while they are still warm.
-
To retain moisture and prevent them from becoming hard, store rotis in an insulated container.
-
Serve immediately with curries, sabzi, or dal for a complete meal.
Troubleshooting Common Roti Problems
-
Rotis Are Hard?
-
Knead the dough well and allow it to rest before rolling.
-
Use lukewarm water for softer dough.
-
Ensure the tawa is hot and cook the roti on medium-high heat.
-
Rotis Aren’t Puffing?
-
Ensure the dough is well-rested and kneaded.
-
Roll the dough evenly without thick edges.
-
Gently press the roti while cooking to encourage puffing.
Cleaning and Maintaining Your Roti Tawa
To keep your Iron Tawa or Cast Iron Tawa in top condition, proper maintenance is essential.
-
For Enamel-Coated Cast Iron:
-
Wipe the tawa with a damp cloth after use to remove food residues.
-
Use mild soap and soft sponges if necessary.
-
Store dry to avoid rust or moisture buildup.
-
For Traditional Cast Iron:
-
Rinse with warm water and avoid using soap.
-
After cleaning, apply a thin layer of oil before storing to protect the surface from rust.


